 Back in 1996, there was a critically-well-received movie – called Big Night –that featured two brothers from the Abruzzo region of Italy who were trying to make a go of an Italian-American restaurant someplace in New Jersey, but were failing miserably. I have spoken before in this blog about the difference in food you eat in Italy and its Italian-American counterpart. Well, in the story, the brother who was the chef wanted to continue to make truly Italian food, but the other brother – who ran the business – saw the handwriting on the wall and knew that to be successful, they were going to have to change their cooking ways and begin offering the kinds of Italian cooking Americans want. Drama (and clever comedy) ensues.
Enough said about the plot (it’s a wonderful movie; you should rent it sometime if you can find it), but a featured event in the movie – and the single thing people who watched the movie still talk about — was the chef/brother’s (played by Tony Shalhoub) preparation of something traditionally called a timballo in Italy, but referred to as a timpano in the movie.
I had come across this domed pasta masterpiece before via Bec’s daughter Kate who had sent her mom a photo years ago and basically said, “I don’t know what this is, but I think you should make it sometime.”
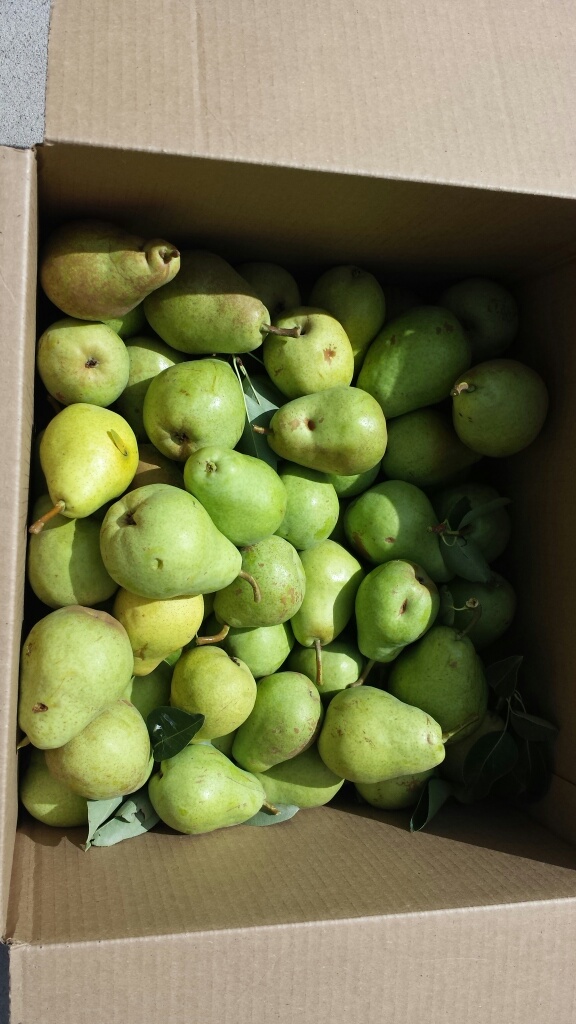
That was a bunch of years ago, but it has been on my mind since. To illustrate this fact,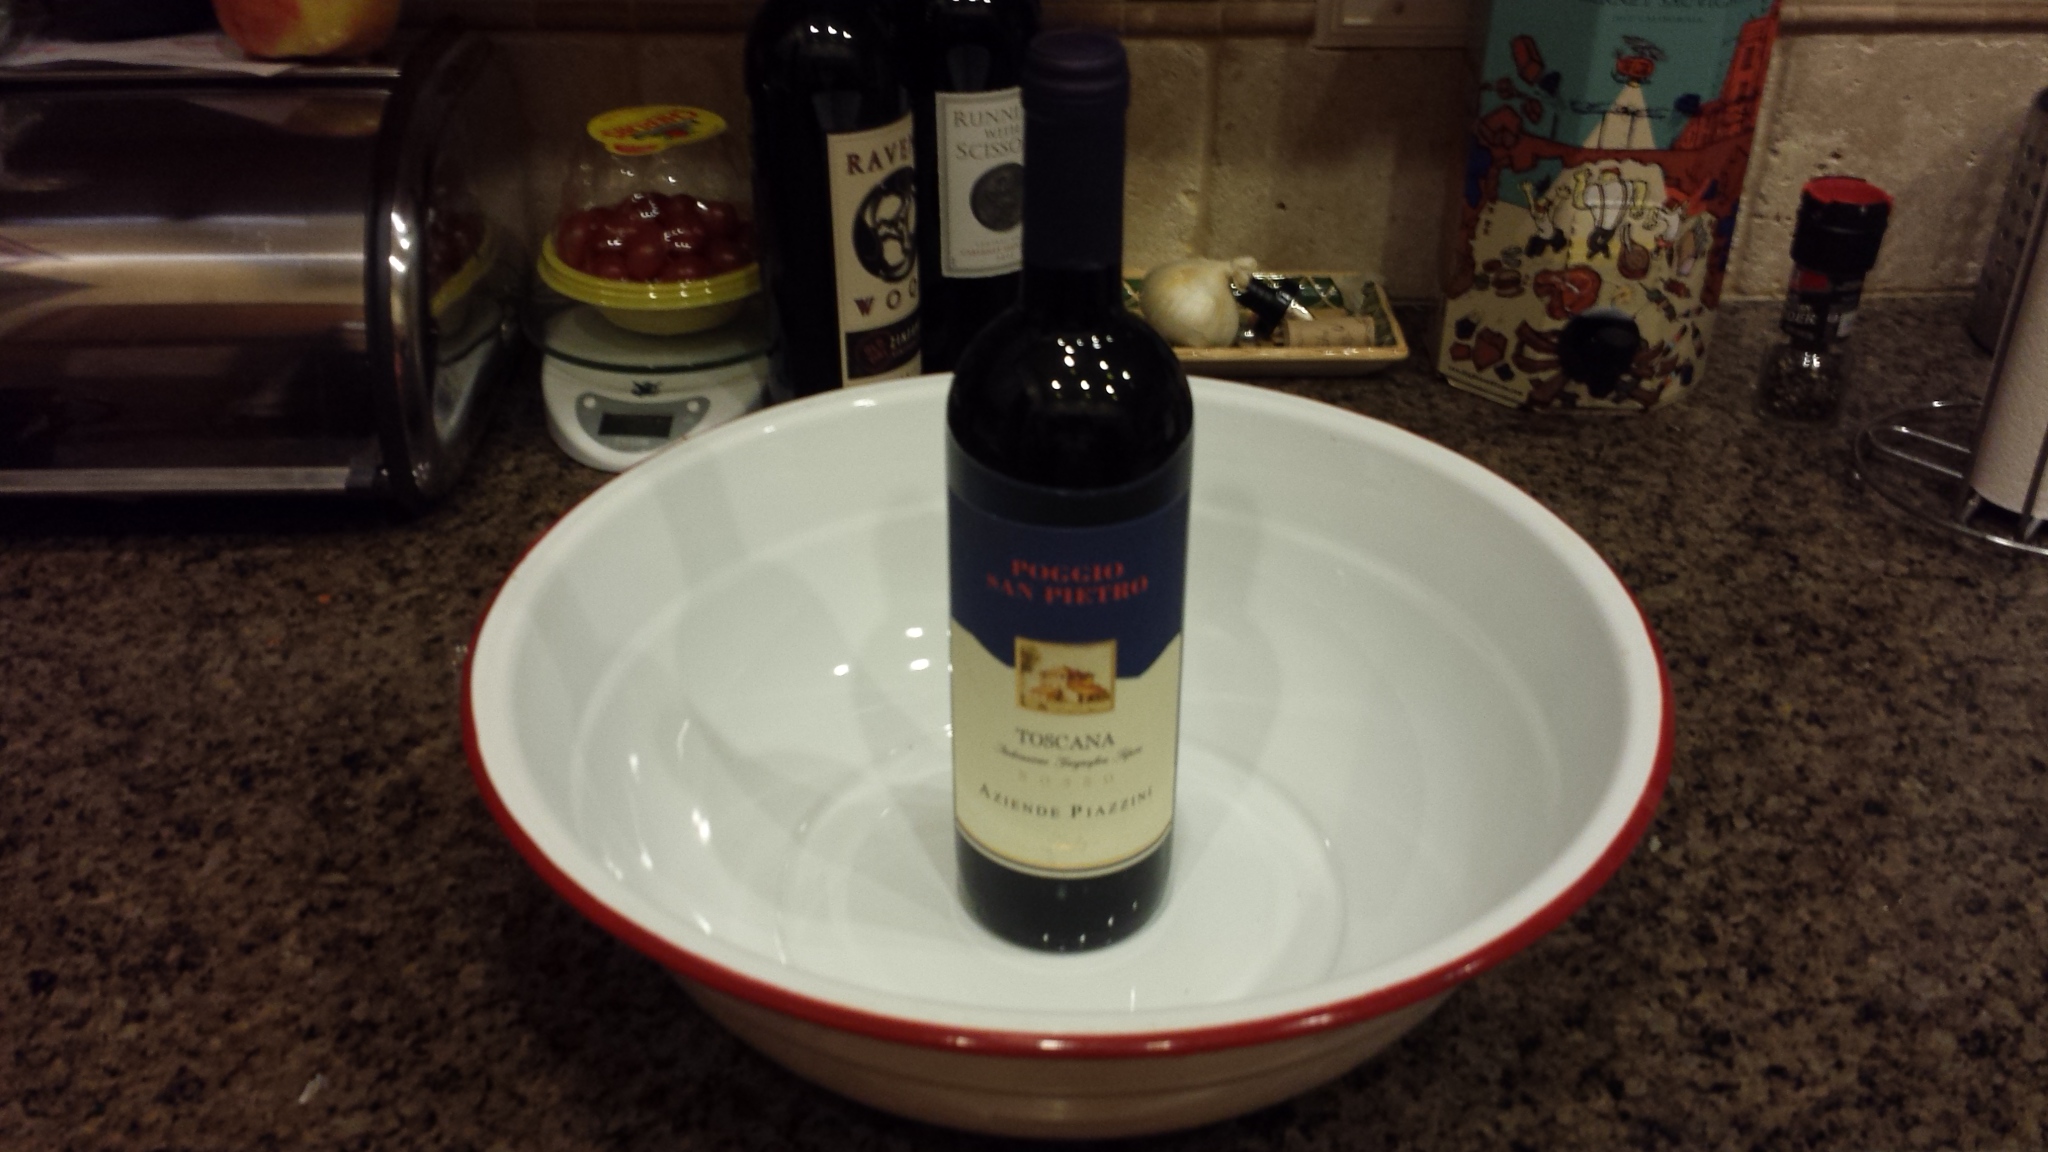 please note that last winter I bought a timpano bowl (which I show here with a wine bottle in it so that you can see how large it is, 15 inches to be exact), with the intention of trying my hand at preparing a timpano.
A timpano is a domed (shaped like timpani drums) pasta extravaganza. It is literally layer after layer of everything you like at an Italian restaurant wrapped in a layer of pasta and baked. It is, as you can imagine, massive, but oh-so-beautiful when it emerges from the oven and you turn it over onto a platter and it sliced open. Abbondanza!
So I have been waiting for just the right time to prepare said timpano. It is, after all, enormous, so it had to be for a large number of people. Also, it is such a, well, thing, to prepare because of all of the various layers and kinds of food that goes into it, so it wouldn’t be anything I would want to prepare all by myself. Such an opportunity never seemed to present itself.
But leave it to my sister Jen to make it happen.
She is here in AZ visiting and it became apparent that Sunday was going to be a day when all of the female family members were going to be spouseless. Golf, football, and/or NASCAR had claimed all of the male members for the day. A gathering of the estrogen crowd seemed in order.
“Let’s do a timpano!” she cried.
“Yikes,” I responded. It seemed an overwhelming amount of work. And an overwhelming amount of food for our gathering of nine women and a scattering of kids.
But upon further research and a great deal of discussion, we decided it would be doable if we made a simplified version. Store-bought marinara, frozen meatballs, etc., and wrapped in store-bought pizza dough instead of homemade pasta dough.
Food Network chef Sandra Lee would call it semi-homemade, but then she would go off to make a matching tablescape, something we did not do. Wouldn’t happen. Not that day. Not any day.
But back to the timpano.
We followed a recipe, but we used it only as a guideline. As I said, while the traditional timpano is lined with a homemade pasta dough, we chose to line it instead with pizza dough, and storebought (from the can) at that.
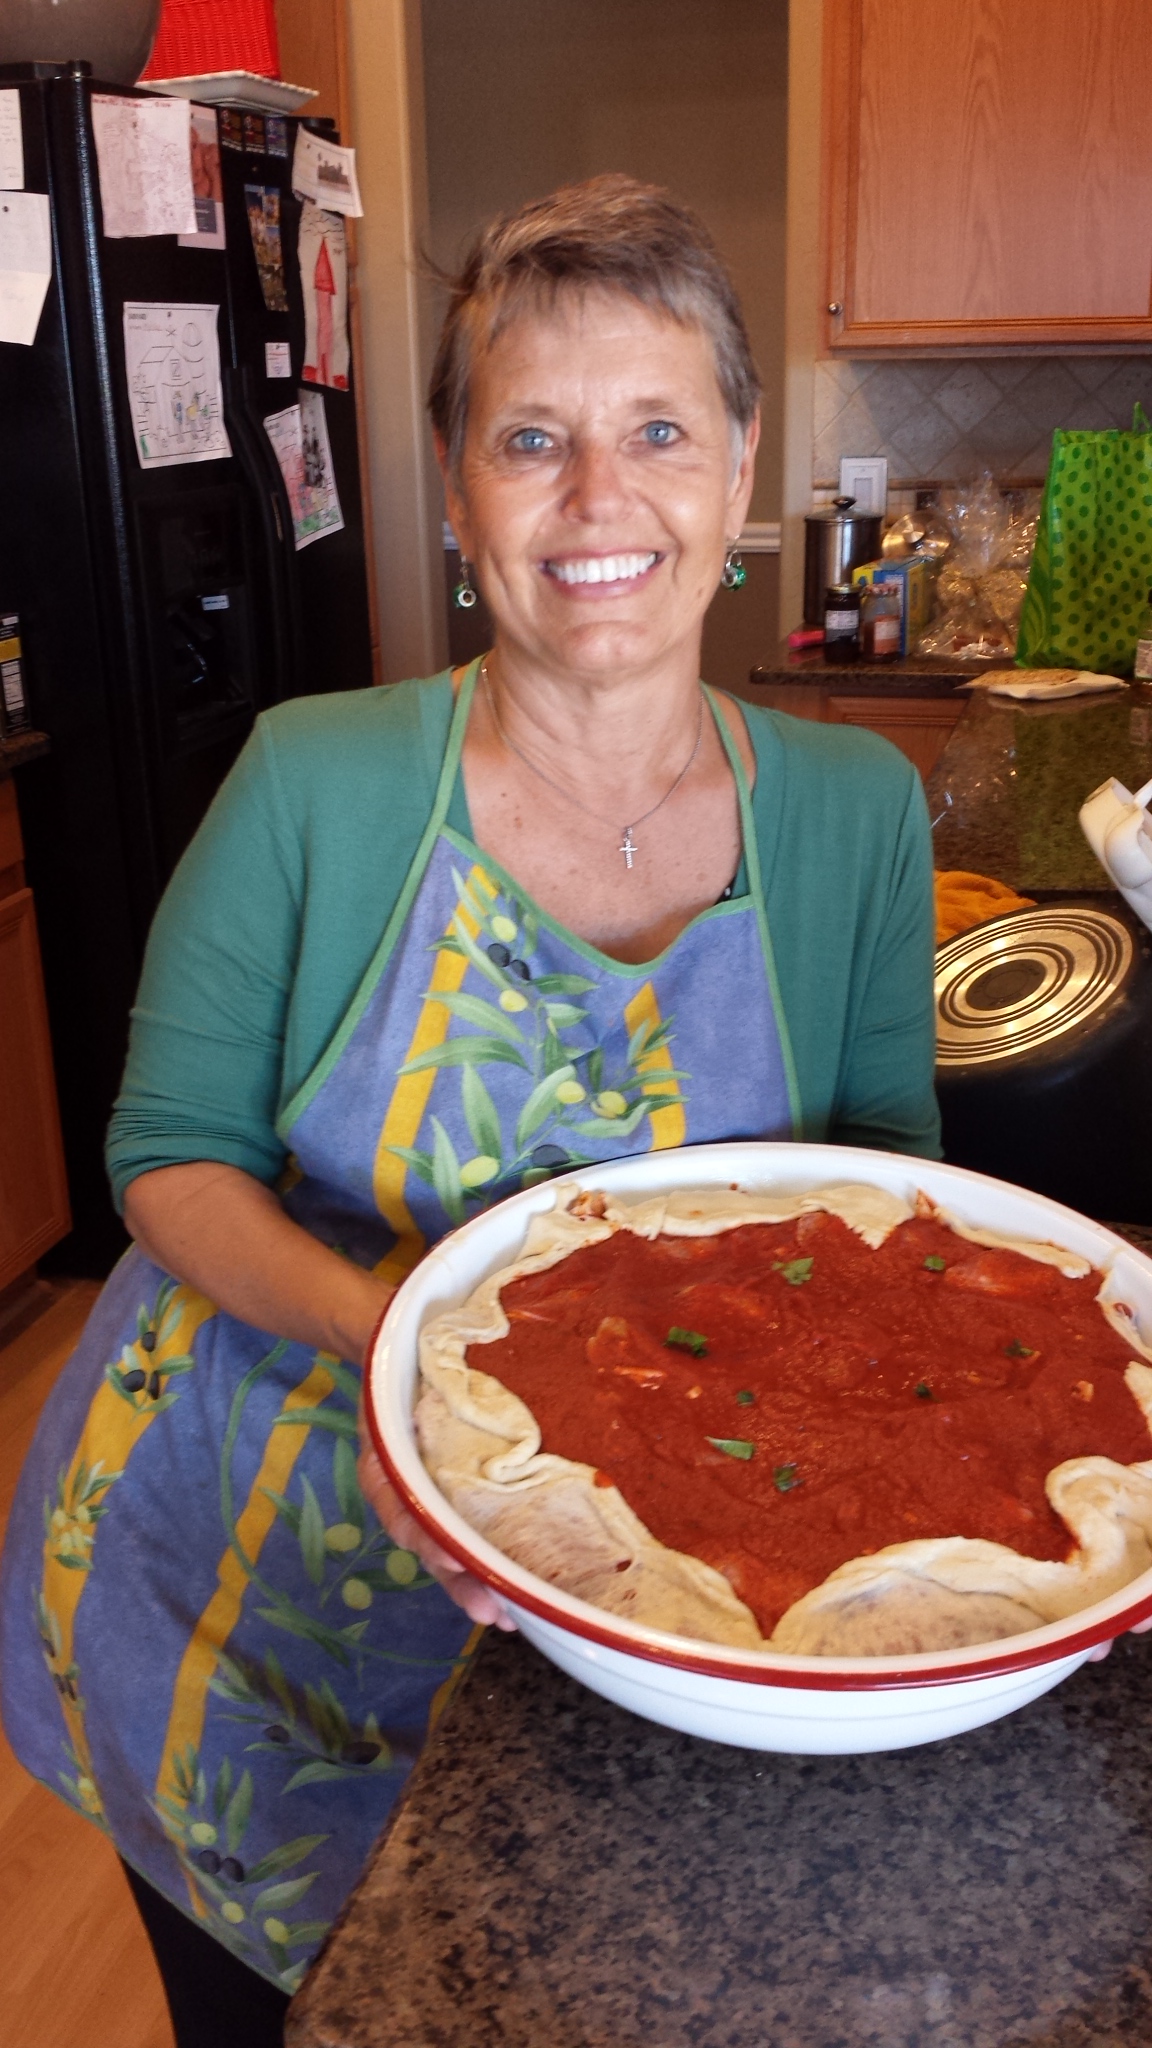
Then we commenced to begin layering – a layer of cooked ziti in a marinara sauce, a layer of cooked Italian sausage, a layer of mozzarella cheese, a layer of meatballs, a layer of grated pecorino cheese, some beaten egg over it all, a layer of tomato sauce. Repeat. Your bowl is filled.
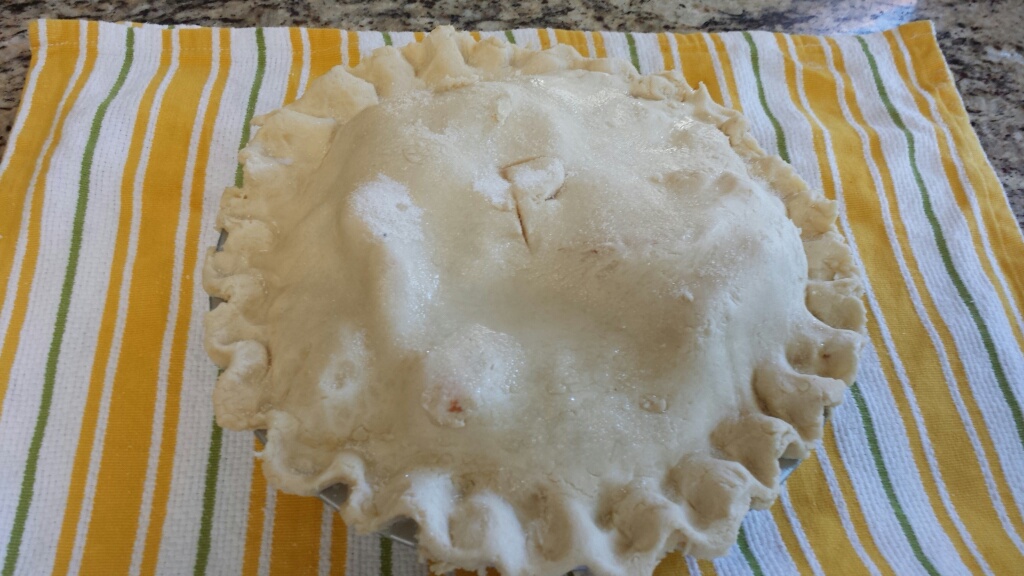
Bake at 350 degrees for an hour-and-a-half, then remove from the oven and let it sit until you can no longer stand to not see what it looks like. Turn it over onto a very large platter, and then commence patting yourself on the back. It’s beautiful. Especially when you cut it open.
And it’s delicious. Remember how I said it was going to be too much food. Well, nope. We didn’t eat the entire thing, but food was taken home, allegedly for the spouses, but I can’t confirm there wasn’t some midnight snacking. My niece is nine months pregnant, after all.
Here is a link to the recipe. The recipe is complicated as the author makes the marina, meatballs and pasta dough from scratch. I’m going to do that someday, but in the meantime, we had a delicious Italian extravaganza and a lot of fun to boot.
Here’s some photos….
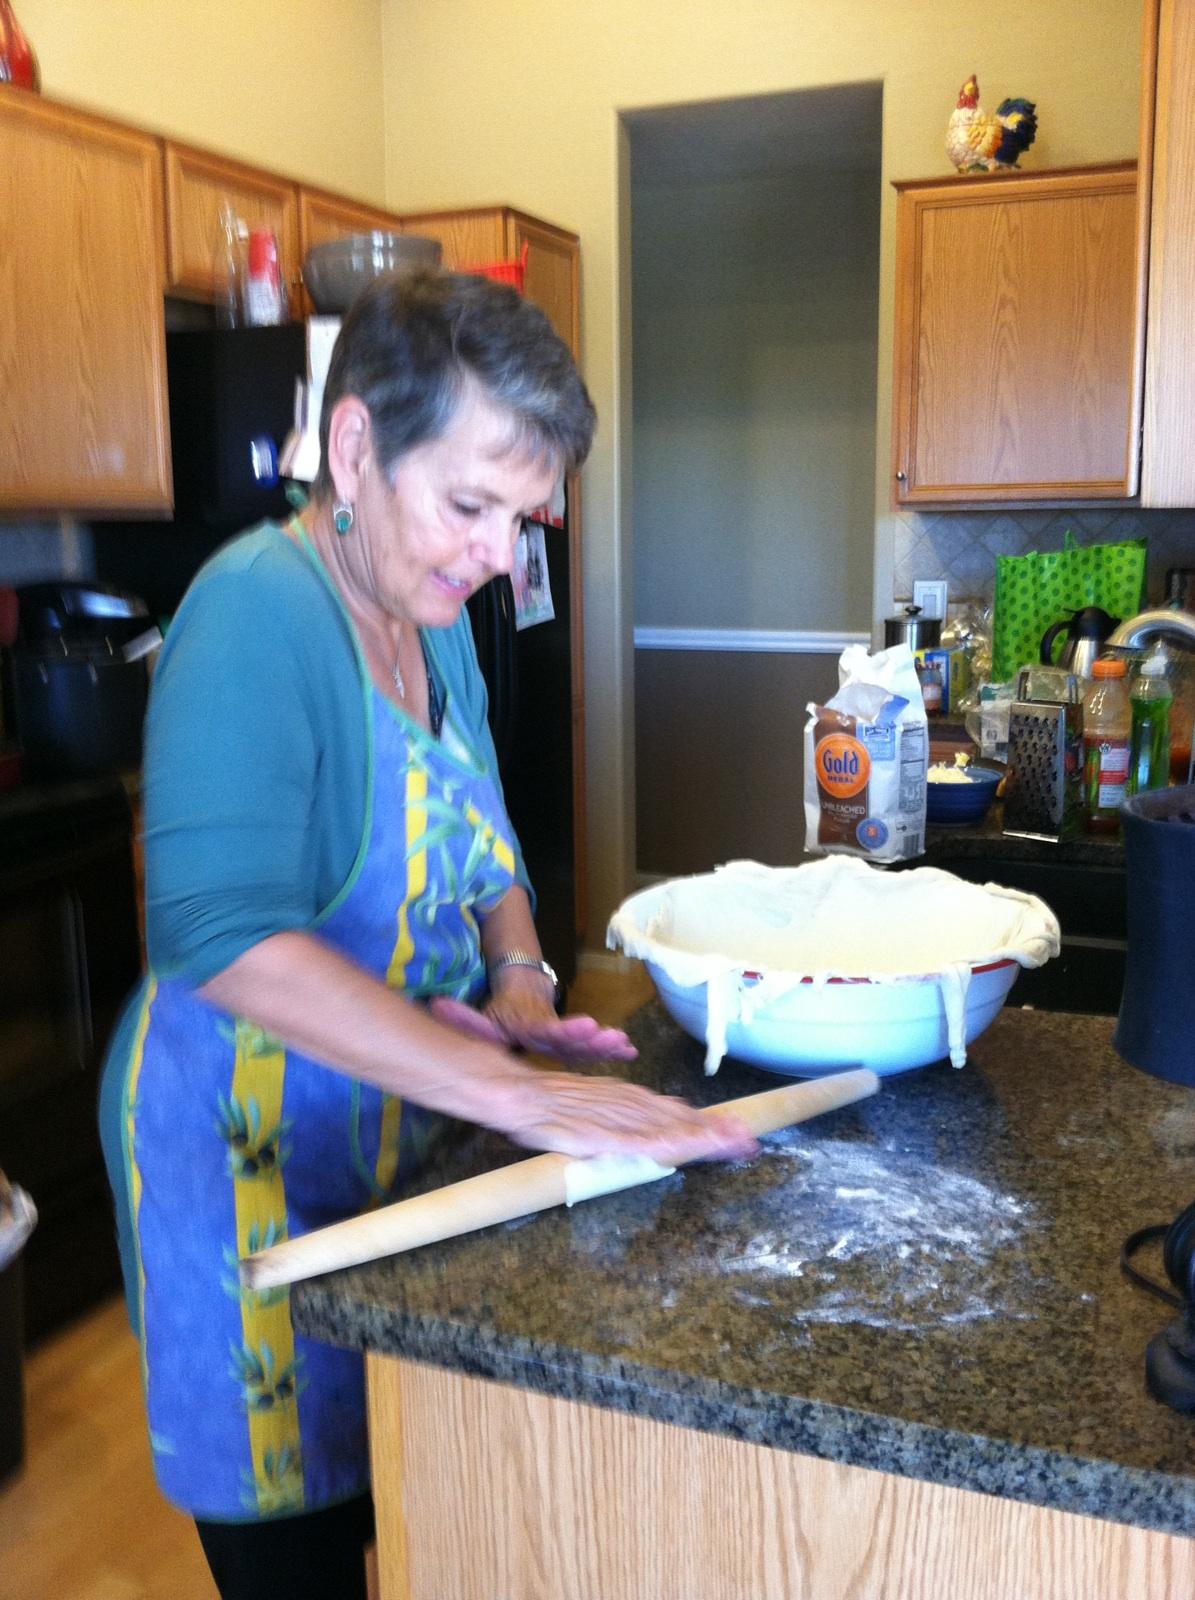
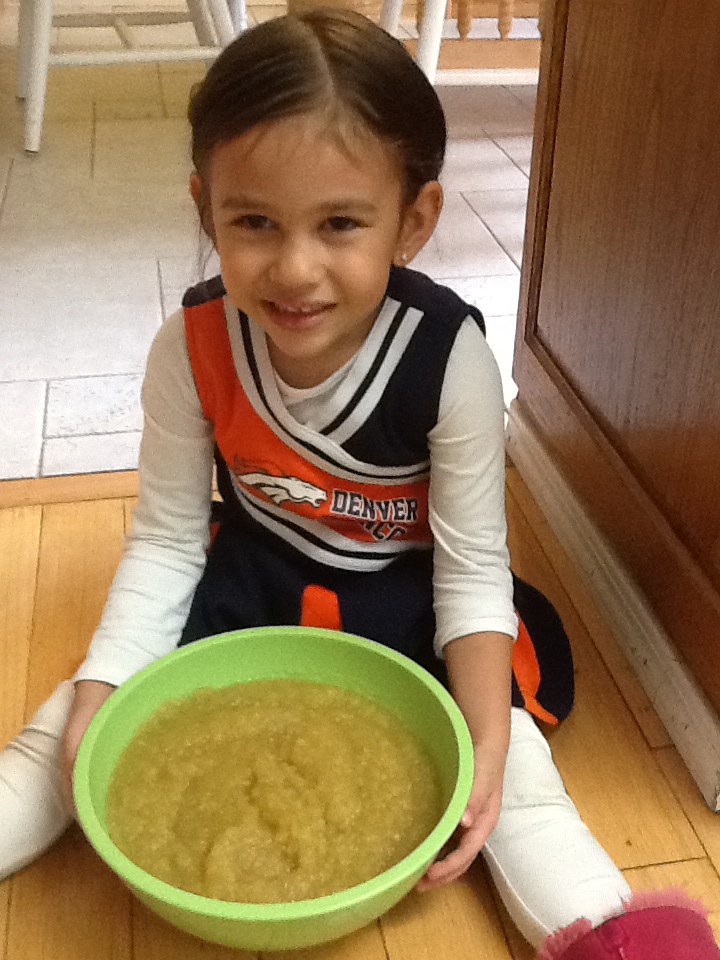
I’m preparing the pizza dough in the bowl.
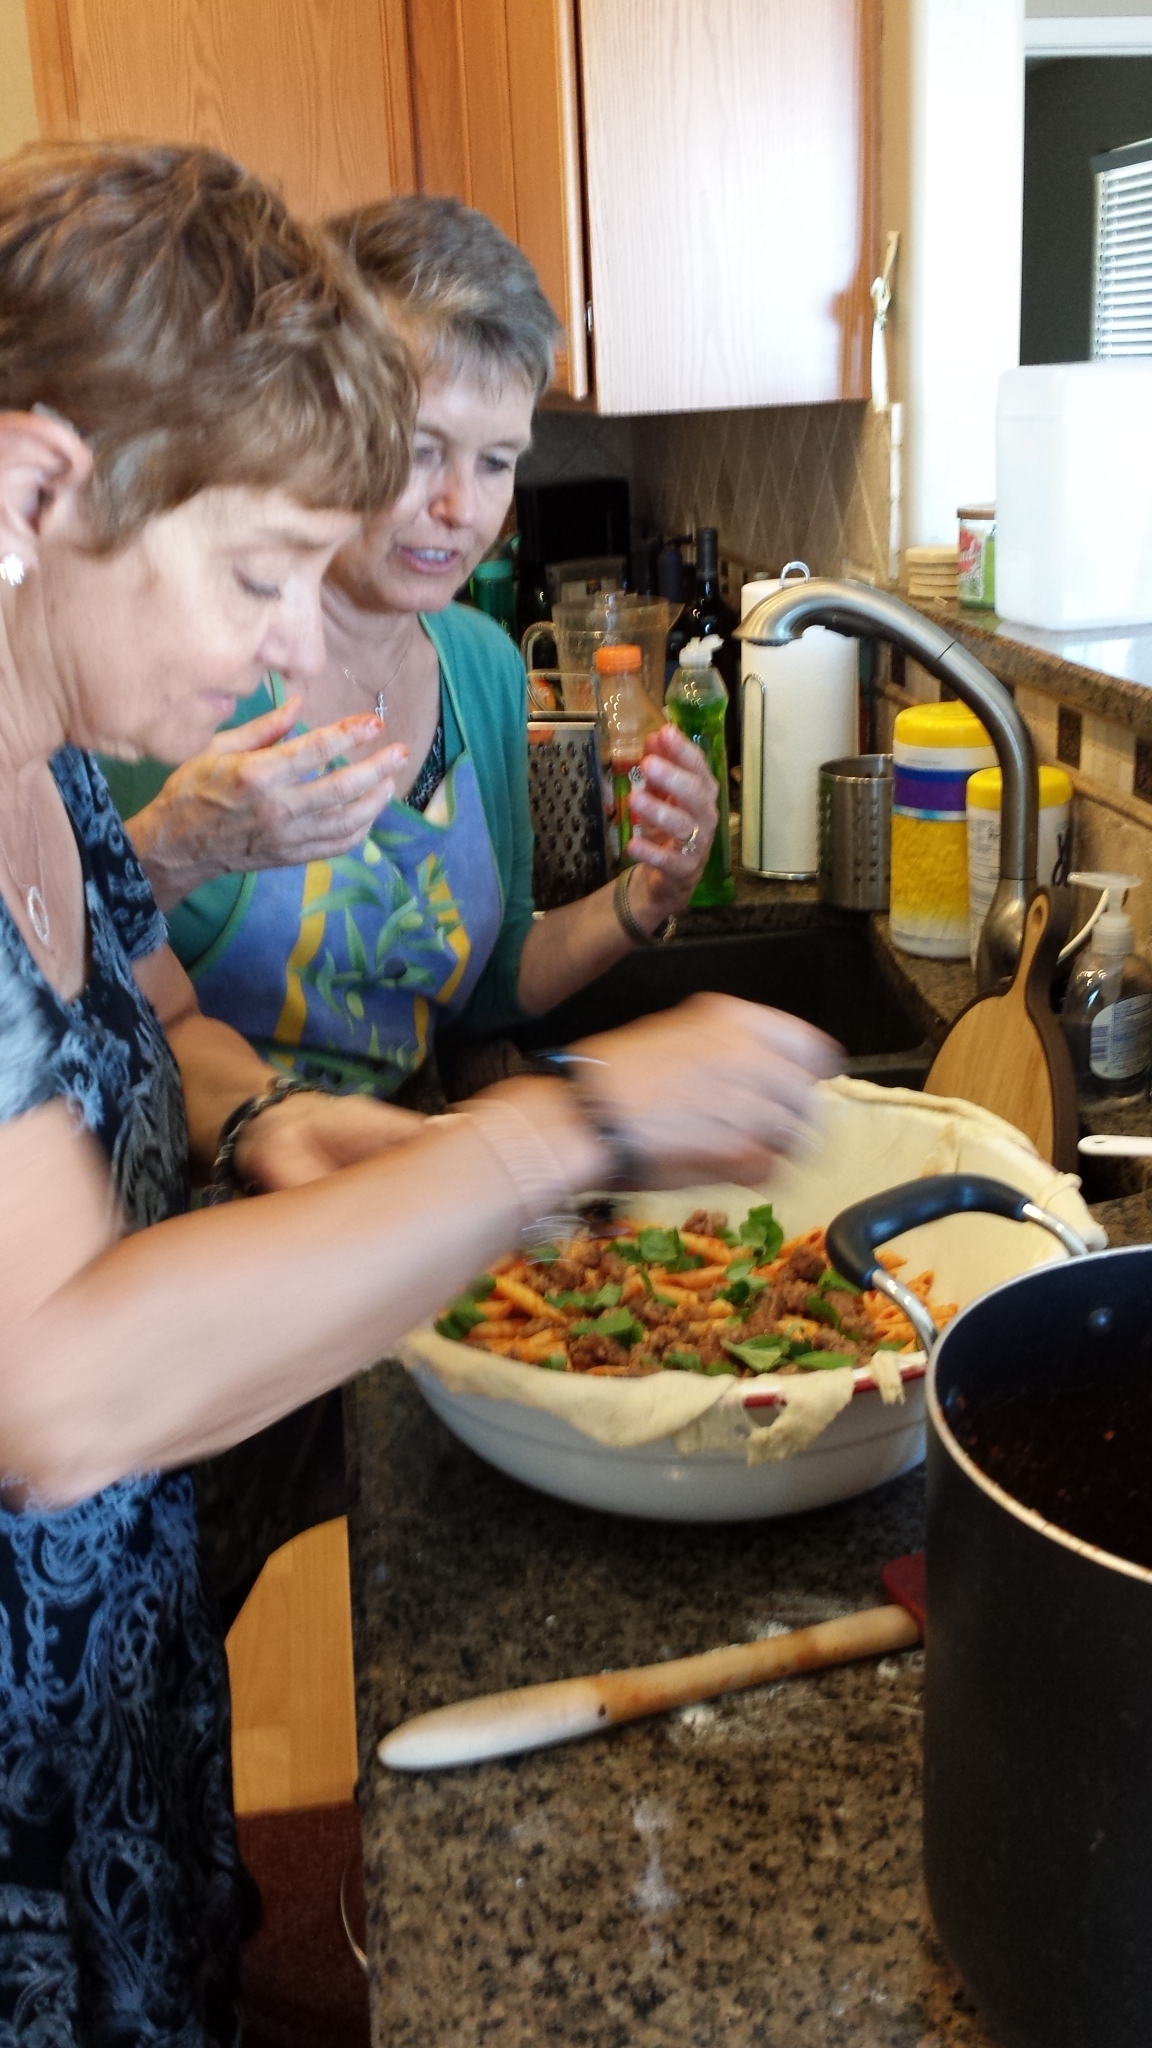
Layer after layer of goodness.
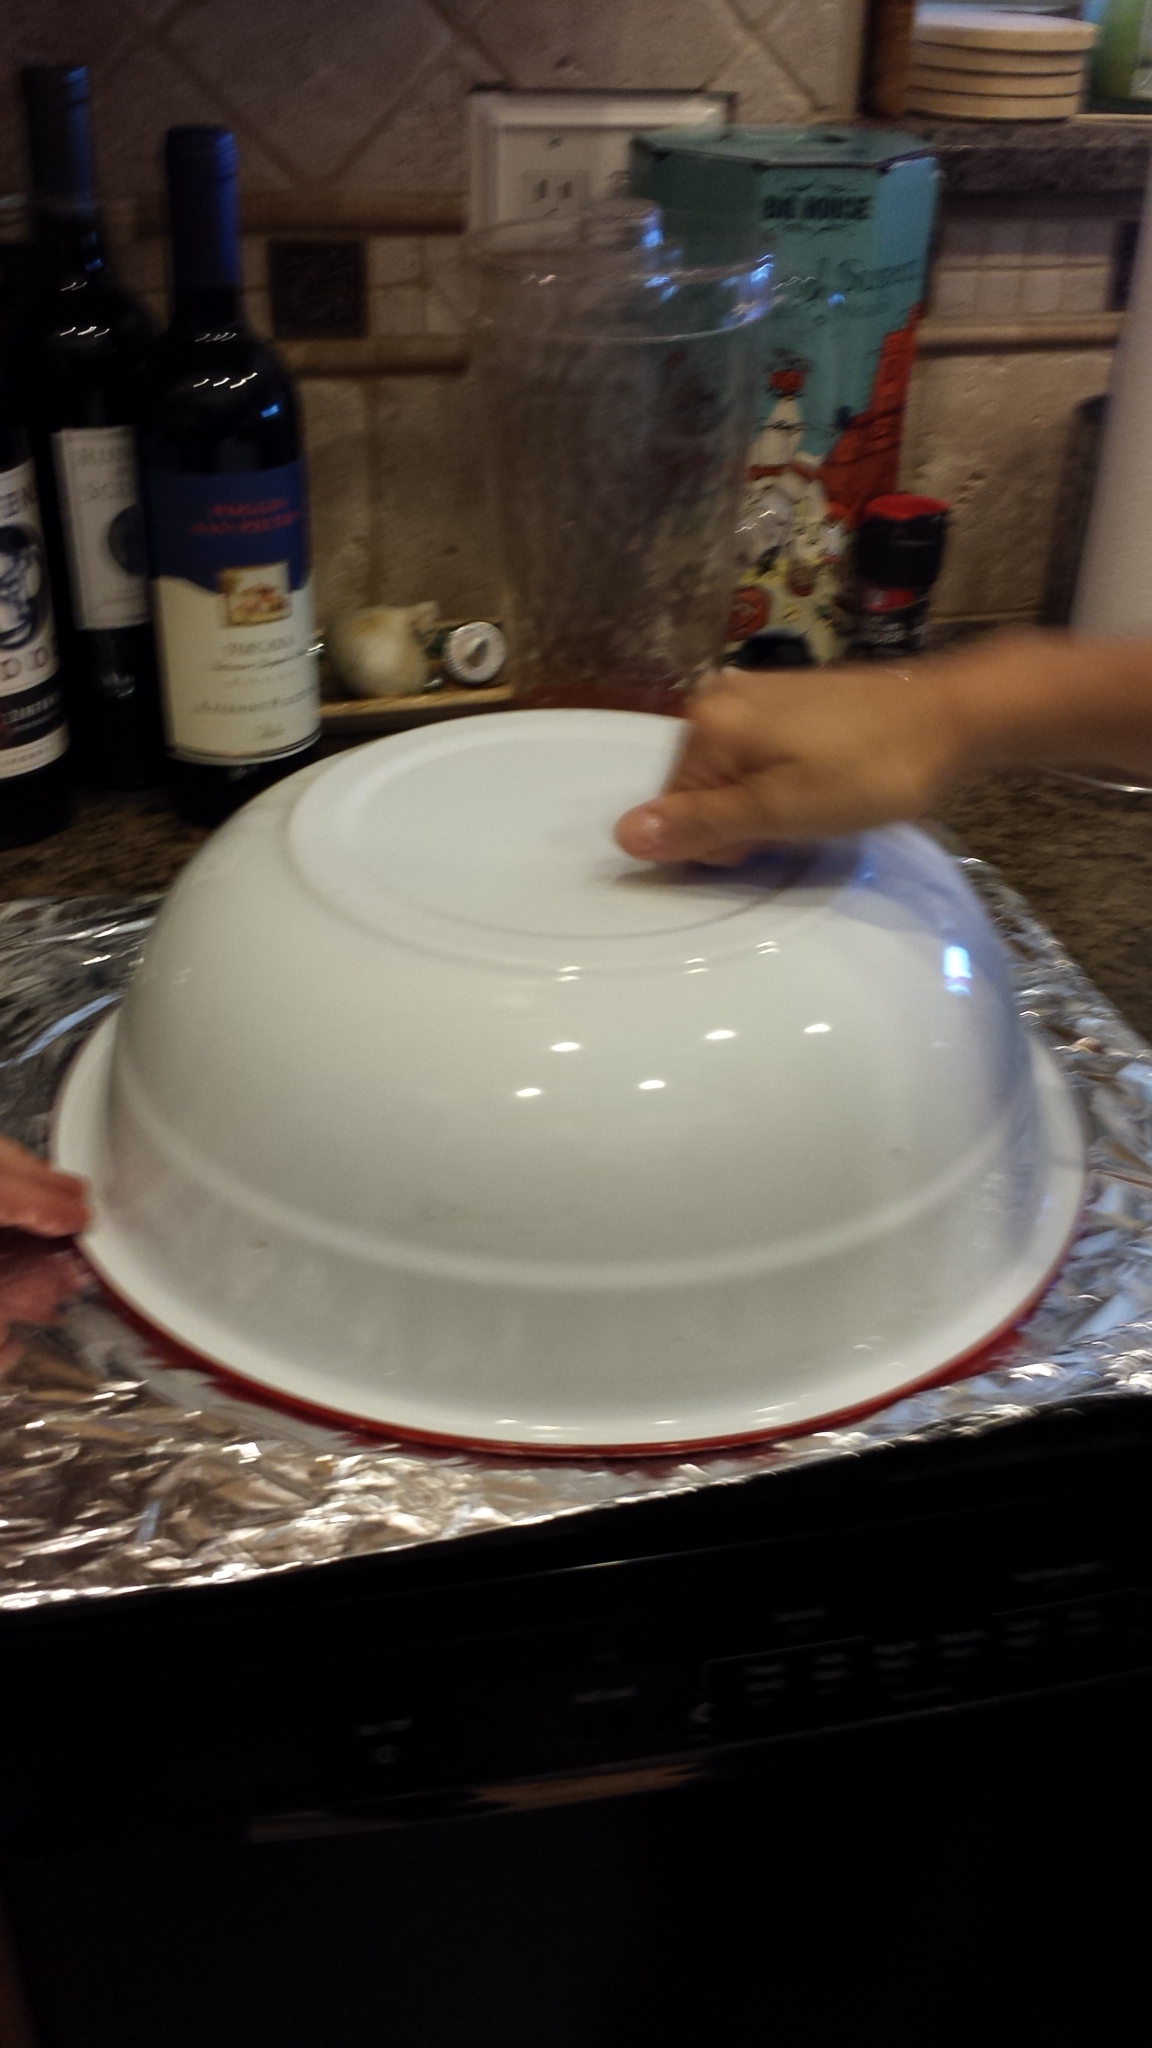
Out of the oven. We’re just about to begin the unveiling, and required everyone to knock on the bowl for good luck. Not an Italian tradition!

Jen and Bec begin the unveiling….
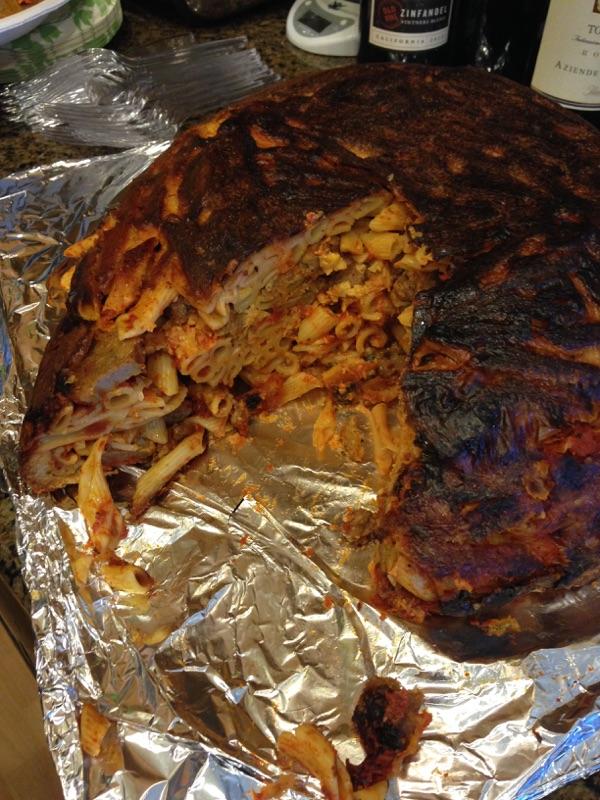
Voila!
Nana’s Notes: Our pizza layer was VERY THIN, and because of this, perhaps a bit overcooked in the oven. I think if I was going to do it again and still didn’t want to make homemade pasta, I would make the pizza dough a bit thicker so that it totally encased the pasta.